This spring, as many new gardeners started plants from seed for the first time, I’ve noticed a trend in terms of failures. Someone on a group will post asking if they should replant, as its been 3 weeks and their seeds haven’t emerged, or their plants have been in a pot for over a month and still basically look like they did when they were a few days old.
If this happens to you, here are the components you need to review. Moisture. Temperature. Light. Soil.

Have you heard of Samin Nosrat’s wildly popular cookbook Salt, Acid, Fat, Heat? Those four words are a great checklist if you cook a meal and it tastes not quite right. You ask yourself, is there enough salt? Does it need a squirt of citrus or vinegar? Maybe a pat of butter? How about a few chili flakes?
Your version of this for seed starting is: Moisture, Temperature, Light, Soil.
Moisture

In order for a seedling to emerge from the soil, it needs moisture. The seed actually contains chemicals that help it remain dormant. When water enters, those chemicals (actually plant hormones) are diluted enough that the plant knows its time to start growing. It’s a very cool biological mechanism.
That said, often the issue with new gardeners is too MUCH water. Because that tiny seed also needs a bit of oxygen/air, and if the soil is too wet, it will rot before its able to grow enough to emerge from the soil. When I plant seed, I use a good seed starting mix that will hold moisture well and not dry out immediately, and then I water once and wait, sometimes up to a week, before I water again. Using a “humidity dome” on the flats helps keep things moist. I remove it AS SOON AS I START TO SEE SEEDLINGS EMERGE, EVEN IF NOT ALL OF THEM HAVE COME UP. Too much humidity, after plants are up is a good way to encourage damping off fungus (more on that below).
The biggest culprit for me when a seed doesn’t come up is that I’ve planted it too deep. My soil is usually pretty light and fluffy, and I haven’t accounted for how much it will settle over time. What I think is 1/4 of an inch deep often ends up being closer to 1/2 inch by the time the soil settles and the seed sinks in the pot. Too deep and the seed won’t have the energy to break through the soil surface before it is exhausted. It dies before it ever makes it to the surface. So if your seeds never emerge and you’re pretty sure you didn’t over water, try planting the seeds more shallow the next time. My rule of thumb is 2 weeks for seeds to germinate. If the seeds haven’t emerged in 2 weeks, I start over. Mostly because I can’t get that time back in the early spring when I NEED to those seeds to germinate on a schedule based on my last frost date.
Temperature
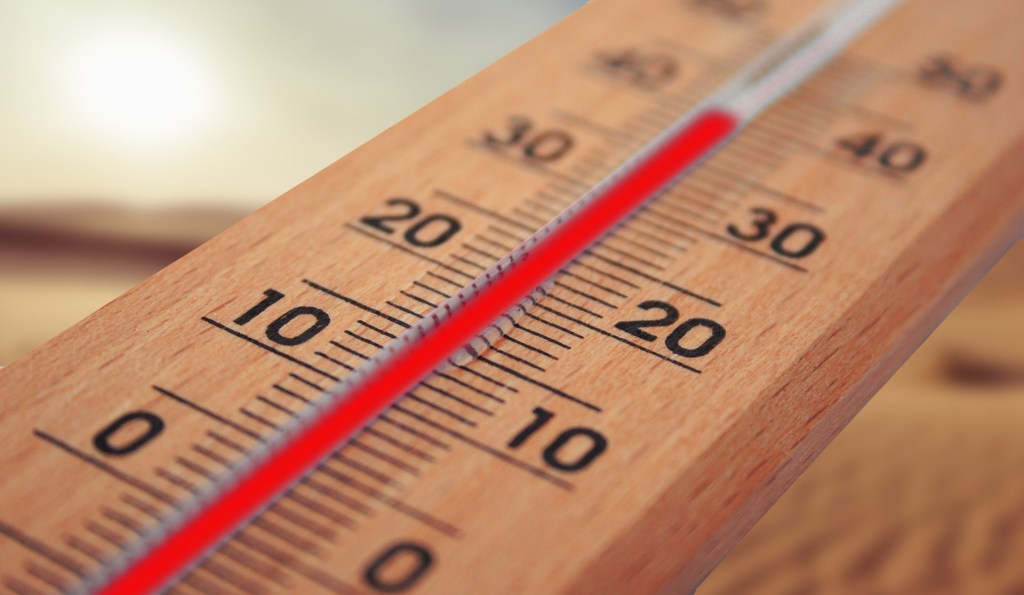
Have you ever noticed the pattern of when weeds come up in your garden or yard? Early in the season I might see, in my area, various weedy mustards, dandelion, purple dead nettle, prickly lettuce or speedwell. Later in the season I’ll start to see perennial bindweed and Canada thistle emerge, along with lambs quarter, sow thistle and red root pigweed (an amaranth) germination. Ever wonder why that is?
It’s soil temperature. Some seeds LIKE it cool. They will germinate at cooler temperatures. Several herbs come to mind, including cilantro, dill, chervil, chamomile and culinary mustard, all of which I’ve seen come up from reseeding in March. Other cool soil crops include the brassicas (cabbage, broccoli, kale etc.) and things like turnip and radish (also mustard family). Lettuce will also often emerge at cooler soil temperatures.
Other seeds really insist on warmer soil temperatures to emerge. I always find a few tomatillo, tomato and ground cherry volunteering in my garden in the summer, but they never emerge until the soil is well warmed sometime in late May or early June. Too late for me to get much of a crop off of these volunteers. Which is why I start these plants mid March in more ideal conditions.
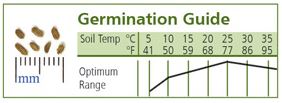
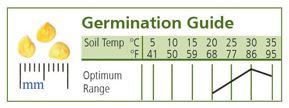
What this means for seed starting is that you need to take into consideration what your seeds want. Johnny’s Seeds has temperature charts for most everything they sell (drill down to the page of a specific variety of vegetable to see it). It can be super helpful to realize that some percentage of carrots will germinate when the soil is still cool (and the seeds are so fine that we often have no real idea of how many we’ve planted anyway), but germination rockets up dramatically once those soil temperatures climb (I no longer try to start my carrots early, but instead plant them when I plant my tomatoes!).
For coveted summer vegetables like tomatoes and peppers, it can be well worth it to invest in a heat mat in order to warm that potting soil up to an ideal temperature for germination. My peppers used to take 2 to 3 weeks to germinate at room temperature. With the use of a heat mat (and a germination chamber – which is my well insulated walk-in cooler repurposed in the spring) I often get most of my pepper germination within a week. But the room temperature/soil temperature is sitting between 75-85 degrees. That’s not a temperature normally found in a house or greenhouse without some help. That said, if I were to put brassicas in this room at this temperature, they may NOT germinate, because its simply too hot. So while MOST seed will germinate OK at household temperatures of 68-72 degrees, not all will do well, and if you’re in it for the long haul, it might be worth investing in a heat mat or otherwise creating a germination space where you have more control over the temperature.
It should be noted that the ideal temperature for germination is NOT necessarily the temperature needed for growth. Most plants will actively grow at a much lower temperature than they need to germinate. So once they are up, you can reduce the temperature a bit to save energy. But too cool, and the plants will just sit, or you’ll see stress in the leaves such as a purple tinge to the leaves or curling. This can get tricky, as these symptoms can also be caused by a nutrition deficiency. I CAN tell you that tomatoes and peppers aren’t really happy when the night time temperatures are below 50 degrees.
Light

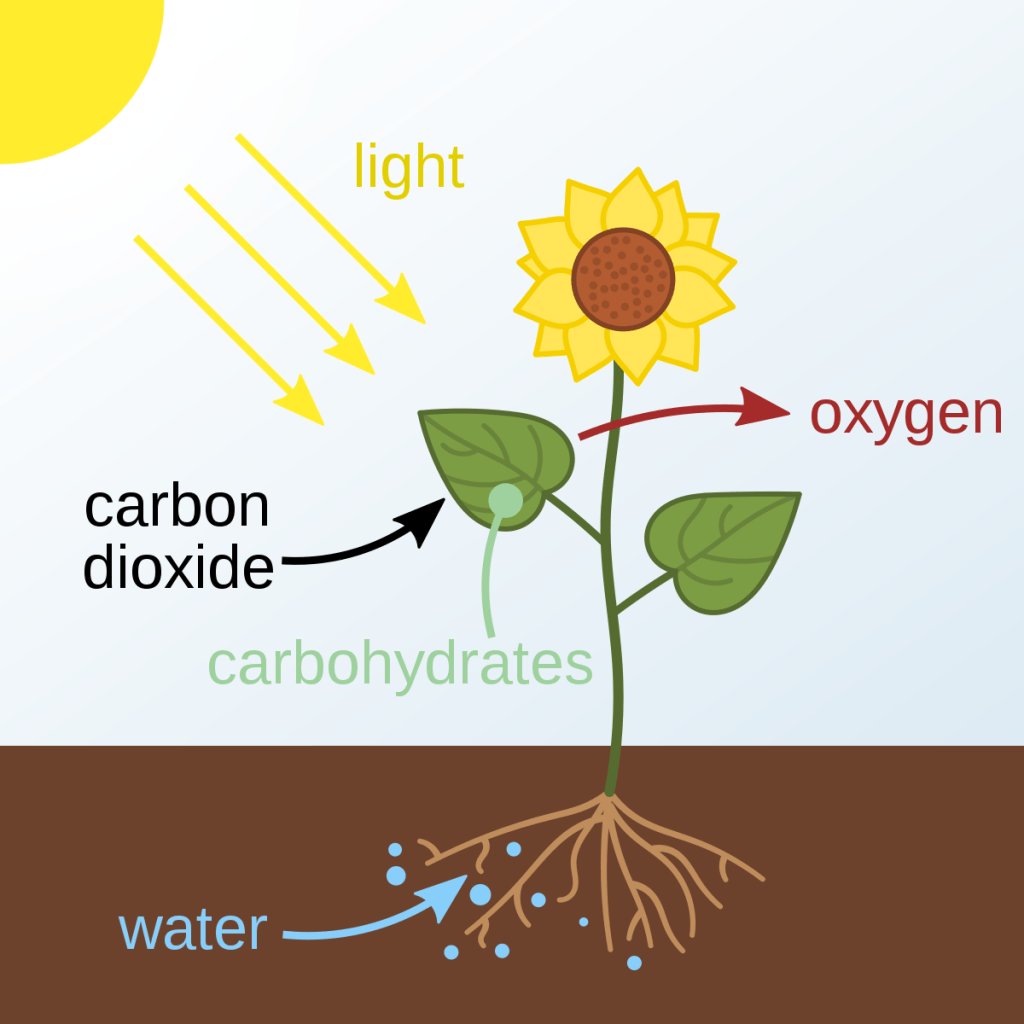
Plants need light in order to grow. That’s the definition of photosynthesis. That plants absorb light and CO2 from the air and use it as an energy source to grow new cells. The best light for plants is sunlight. But of course, we can’t always put our seedlings outside early in the season (see temperature discussion above) and so we often use grow lights or a sunny indoor window instead.
Our eyes are masters at adjusting to changing light conditions without our realizing it. We can go from outdoors on a bright sunny day to indoors and not realize how drastically the amount of light hitting our eyes has changed. But plants absolutely notice. If you’re using inexpensive “shop” grow lights, they need to be within a few inches of your seedlings in order for them to receive enough light to not become “leggy” or stretched out. (I put mine on hooks and chains so I can change their distance in increments). Leggy plants grow spindly weak stems stretching for the light, and its often difficult for them to recover once they are moved to a stronger light source. So keep those light sources close. (You can actually download a free app that turns your phone into a light meter. This can be handy when comparing outside sunny day light, outside overcast day light, inside south facing window light, grow lights etc.)
That said, there IS such a thing as too close. I’ve accidentally burned plant leaves where they have grown to touch the actual bulb of the light, even when it was florescent or LED. I normally notice this quickly and adjust the light immediately, and the plants outgrow this cosmetic damage. But watching for leggy plants or scorched leaves and adjusting the light distance immediately will go a long way towards strong healthy plants. If you have purchased true “grow” lights, follow the manufacturer directions on distance, and then adjust accordingly based on what the plants are doing. I graduated to LED grow lights this year, and the manufacturer indicated 18″ distance to the plants. But most of my plants did better with 12″ of distance.
If your plants have been grown with indoor lights and consistent temperatures 24 hours a day, its often recommended that you “harden them off” when getting ready to plant them outside. This means exposing them to the stronger natural light and fluctuating temperatures of the outdoors gradually. Start out by putting them outside mid morning, when the light isn’t as strong, for a few hours, and then bring them back in. Then lengthen the time outside over a period of days until they are acclimated. There is no agreed upon timeline for this. And it can be difficult if you work 5 days a week and can’t be around to bring the plants in and out. Just do the best you can, and if the plants aren’t well hardened off, try to plant on an overcast day to give them time to adjust to the intensity of full sun.
Soil

Plants are magical. They can make tissue from air and sunlight. But…and its a big but…they do need other things in order to grow well. The primary ones are nitrogen, phosphorus and potassium (abbreviated NPK. Numbers, by percent, are included on all commercial fertilizers, organic or synthetic). AND when that tiny root emerges from the seed, it needs a fine soft medium in order to push through, expand and grow. Big chunky bits of bark and compost can be very hard for those tiny roots to penetrate or find a way around. (Young roots are often called “thread stage” for this reason). There’s a reason they sell specialized bags of “seed starting mix”.
That said, seed starting mix is expensive, and making a “sieve” out of hardware cloth is pretty cheap. I’ve been sifting my soil components to remove large chunks and then using that for seed starting for about 20 years. It works well. More on how I make my own seed starting mix here.
Seeds come with a certain amount of stored energy as part of the package. Usually enough for the seed to grow a root, break the surface of the soil and for the seed leaves (called the cotyledon) to emerge. But if that soil is devoid of any nutrients, if its just some random bag of “potting soil” picked up on sale at a big box store with no information on included nutrients (ie no NPK numbers on the label), than its very possible that your seeds will emerge, but then just SIT. I’ve seen a lot of this this year. Seedlings that look like they just emerged from the soil that are over a month old. That should NOT be happening. If it is happening and you know that your temperature, light and moisture levels are where they should be, the issue is the soil.
Home gardening is experiencing a huge resurgence right now, between 2 years of a pandemic and increasing inflation leaving people worried about food security. But that means that manufacturers of things like potting soil are sometimes bagging up materials that aren’t fully broken down or contain less nutrients than they have in the past. It can be tricky to fertilize young seedlings because they can easily be “burned” by too much fertilizer. But if you’re seedlings aren’t growing, try watering with a dilute fertilizer and see if it helps. I personally make my own organic fertilizer and mix it into my seed starting mix. I don’t know the exact % of NPK in the soil by the time its all mixed in, but I do know that there is SOME nutrition in that soil for those emerging babies.
Lastly, if you see a bit of fungus that looks like spider web on your soil, or a bit of green on the soil, DO NOT PANIC. Fungus is everywhere. It’s in the air we breathe. It’s certainly in the soil we’re using, even if it started out sterile. It’s job is to break down more complex molecules into more simple ones. It’s essential to the breakdown of compost.

Because fungus is in the air, spores will land on the moist surface of your soil and start to grow. If your seedlings look healthy and strong and you’re not overwatering, seeing a bit of fungus on the soil is most likely harmless. Damping off fungus, which will cause a seedling to rot at the surface of the soil and die, can not easily be seen with the naked eye. A bit of green on the surface from some algae is also harmless.
So, to recap. Seed starting stalled out? Trouble shoot by asking yourself, am I supplying everything these seeds need? Moisture. Temperature. Light. Soil/nutrition. And when in doubt, don’t wait more than 2 weeks to replant. The worst that can happen is that the original seeds come up or recover and you have twice as many seedlings to plant or share with friends or your local community garden!
© Miles Away Farm 2022, where our plants, most started in mid March, are just now going into the ground during this weirdly wet cold May. Go to the DIY Homesteading tab above, and scroll down to the gardening section for lots more gardening advice! Want more content? Sign up for a monthly newsletter to your email inbox HERE.

1 comment
Comments feed for this article
May 23, 2022 at 10:17 am
Anna Katherina | A Sprag Salfige
So many advice breakdowns I see for new gardeners say not to start from seed because “it’s too difficult / complicated to get right at first”, but I’ve always thought that was nonsense (and never found that to be the case myself). This is a great breakdown, thank you!